(⇐ For direct submission of 3D printing-jobs use the Request Tabs on the side.)
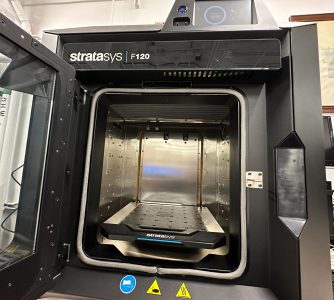
Stratasys F120 3D printers (High Resolution):
High-precision 3D printer
| Parts are produced within an accuracy of +/- .200 mm (.008 in), or +/- .002 mm/mm (.002 in/in), whichever is greater. |
- Qty: 1
- Tray Size: 300 x 200 x 150 mm (10 x 10 x 10in.)
- Print Material: ABS BLACK (Link to MSDS)
Support Material: SR-30 (link to MSDS) - Cost*: $30 setup fee + $1.00/g of material used (print & support materials combined)
*Note: ECE project courses may use a different costing model for the purposes of project budgets - undergraduate students should refer to their course instructor for more information.
For technical specs please follow the links below:
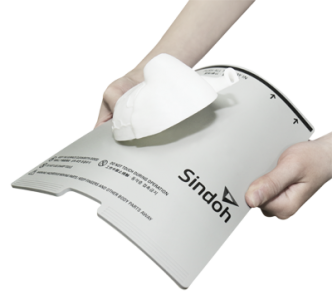
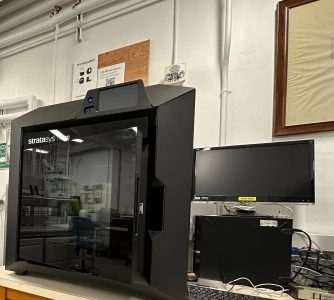 Photo credits: ECE UBC
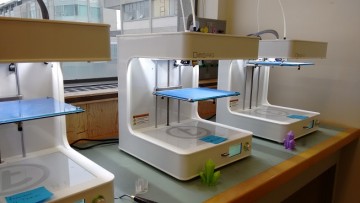
Tinkerine Ditto Pro printers (FDM - Low Cost)
Low printing cost, fused deposition modeling (FDM) printers with a layer resolution of 0.05mm - 0.3mm.
Location: LIFE Building Second Floor
Qty: 7 total
Print Material: 1.75mm PLA filament (available in matte white, black & grey)
Support Material: None (Tinkerine Suite can create support lattice from print material if needed)
Cost: $15.00 setup fee + $0.10/g of material used
Note: Project courses may use a different costing model for the purposes of project budgets - undergraduate students should refer to their course instructor for more information.
For technical specs please follow the link below:
Specifications Ditto Pro
Standalone Software for Ditto Pro (Tinkerine Suite)
Under Construction...
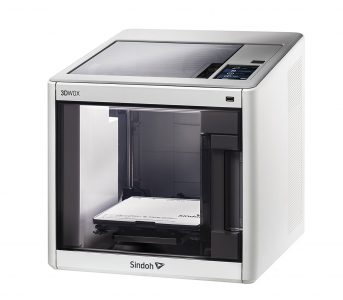
Sindoh 3DWOX DP201 WebCam Monitored* printer (FDM - Low Cost)
Low printing cost, fused deposition modeling (FDM) printer with a layer resolution of 0.05mm - 0.3mm.
Location:LIFE Building Second Floor
Qty: 1 total
Print Material: 1.75mm PLA filament only
Support Material: None (Sindoh Suite can create support lattice from the print material if needed)
Cost: N/A (Capstone / NVD Supervisor Authorization)
For technical specs please follow the link below:
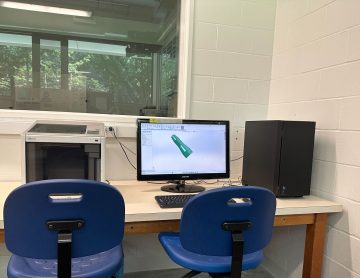
Preparing a Parts File for submission:
- Open the parts file in SolidWorks and close any assemblies that the part is included in
- Open the “Save As” menu dialog
- Set the file as a .STL file
- Click on “Options…”
- Set “Deviation” to the lowest value available
- Set “Angle” to 5 degrees (angles less than the value provided will produce larger .STL files which may or may not be printable)
- Save the file/s
Preparing an Assembly File for submission:
- Open the assembly file in SolidWorks
- Open the “Save As” menu dialog
- Set the file as a .STL file
- Click on “Options…”
- Set “Deviation” to the lowest value available
- Set “Angle” to 5 degrees (angles less than the value provided will produce larger .STL files which may or may not be printable)
- Check/uncheck the “Save all components of an assembly in a single file” box
- Checking the box will print the entire assembly as a single part
- Unchecking the box will result in an individual part file for each part in the assembly
- Save the file
BONUS!
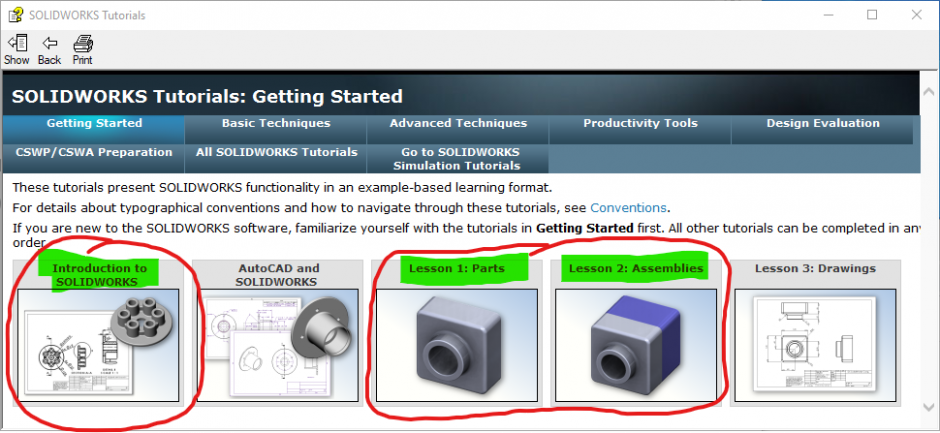
Most CAD Softwares have easy to follow built-in Tutorials under the help tab, take advantage and USE IT!
On Solidworks the recommended basic ones for ELEC Project Courses are:
- Introduction (1-hour Practice)
- Lesson 1: Parts (30 min Practice)
- Lesson 2: Assemblies (45 min Practice)
Frequently Asked Questions
| Question | Answer |
|---|---|
| What file format do I need to save from SolidWorks? | STL - see PDF tutorial above for details |
| How big can the part be? What is the printing accuracy? ... | There are three styles of printers: the Ditto Pro, the Objet 24 and the Objet 30. The tray size and printer performance specs for each model is specified in the spec sheets above. |
| Can I get an estimate of the part cost before I build it? | Objet Printers: Use Objet Studio to set up your print job and then press the "dollar sign" button. This will give you an estimate of the material usage and build time. Tinkerine Printers: Use Tinkerine Suite to set up your print job and then press "slice" button. to This will give you an estimate of the material usage and build time. |
| What can I do to reduce the cost? | Scaling down the size will reduce both model and support material. You can reduce the amount of support material required by: (1) Rotating the part so it sits as flat as possible on the table (2) Manually positioning multiple parts so that they overlap in the Z-axis (3) Producing your part as an assembly with small gaps between parts (4) Select a glossy finish (for Objet printers) |
| How do I make a part with a working joint? | (1) Use SolidWorks to create an assembly and then save the assembly as an STL file. (2) Make sure to position the joints so that the assembly is as flat as possible to waste less support material. (3) Make sure there is a minimum gap of 10 thou (0.25 mm) in the joint so you will be able to free it up. (4) When you generate your STL file, check the "Save all components of an assembly in a single file" box (see PDF tutorial above). |
| What exactly is a Thou? | 1/1000 inch (or 25.4 um) You can think of it as a mili-inch. This unit of measurement may also be referred to as a "Mil" but "Thou" is the term used in the Objet documentation. |
Do you have a question not answered here?
- Email us at 3d@ece.ubc.ca for more information.